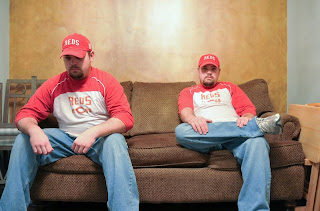
Cheesy tag line right? Sorry it's the best I could come up with this early. This is actually two images made into one, and it's a whole lot easier to do than you may think. Once you understand layers, it's a piece of cake. Anyway, I hope everyone is having a good morning. We woke up to freezing weather here in Cincinnati, and to top that off, my wife forgot to turn the furnace back on after letting in some fresh air yesterday. I want to tell everyone about a great convention happening in two weeks in Ohio. It's the 56th annual Professional Photographers of Ohio convention, held in Dayton Ohio. It starts on March 4th and runs through March 9th. Admission is $30 for the trade show part. There will be tons of new products available for view, as well as a chance to talk with every major manufacturer in the business. It will be a great show, don't miss it. I plan on going on Sunday the 8th if anyone wants to come along.
With the inclusion of the image above, I thought maybe we'd talk about layers today. What is a layer? Think of them in terms of the clear overhead projector slides that the teachers used in high school. the bottom piece(background layer) would have the test or questions on it, and when everyone was done and it was time to grade your partners answers the teacher would lay another clear piece on top of the first with the answers on it.(the next layer) You could still see the bottom(or background) layer, except where the answers had been added. This is the same idea that is used in photoshop with layers. The only place that is covered up when you add a layer is the additional material on the next layer. For example look at this image of my old Kodak Duaflex:
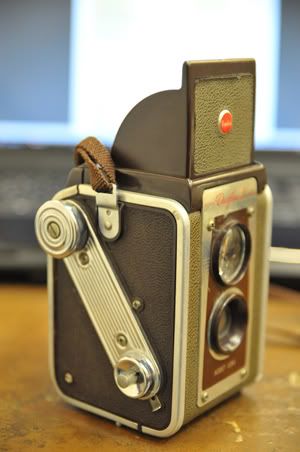
Now look at the same photo with an added text layer:
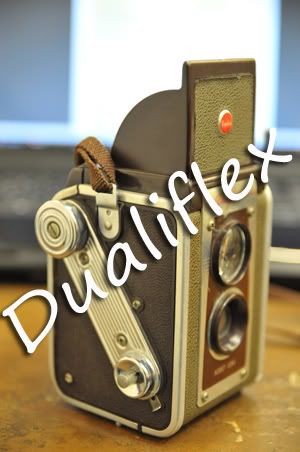
That text is an added layer. I can move it around. I can re size it. I can even change the opacity up or down if I like. If I don't like how it looks I can just delete the layer. Layers never actually change the original image pixels, they just add additional "layers" of pixels on top of the original that can be removed or changed at any time. You can do many different things with layers, you can color adjust, you can do curves(contrast), you can do saturation, black and white conversions, etc... To make any of the adjustments that I just listed, you will go to LAYER-NEW ADJUSTMENT LAYER then pick you adjustment from the selection there. It will automatically make whatever adjustment you make on a new layer.
After you have made the adjustment you want, right click on the layer that you just created and select blending options. You will get a box that looks like this:
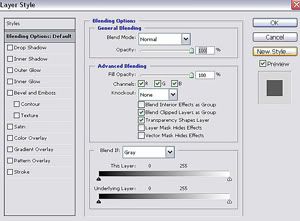
You can see in that box you have the option of blend mode, blend opacity, advanced blending, and a number of effect options on the left side. There are quite a few blend modes. They all do something different, so try each one out to see how it effects your photograph and see if you like any of them. If not, just leave it on normal. The blend opacity makes that layer more or less transparent. By default it is set to 100% but you can lower that to make it more see through. The key is to play around until you get what you want. Remember if at any point you don't like what you see, you can drag that layer to the little trash can icon and start over.
I have a lot of work to do to get ready for the class on the 7th. I'll see everyone tomorrow. Jason



No comments:
Post a Comment