
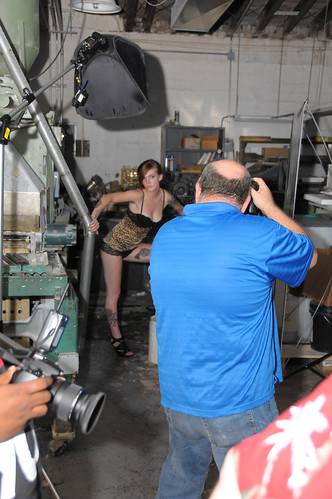
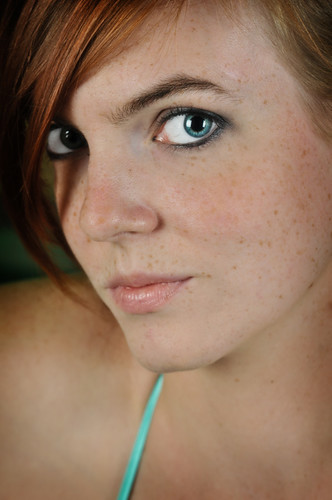
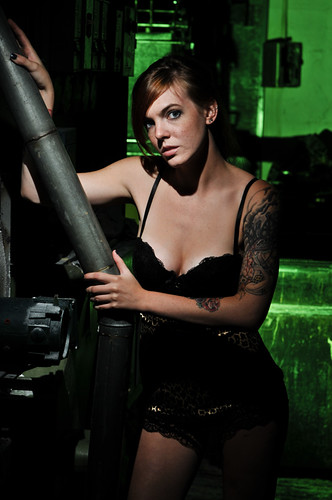
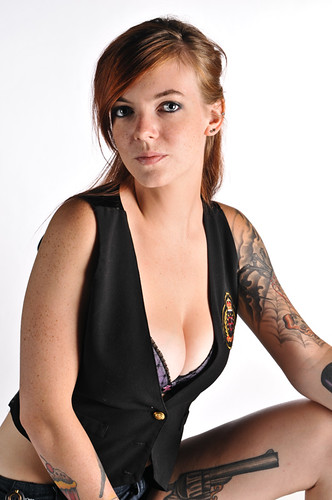
Hey everyone! Glad you made it back to see us over here! Busy, busy weekend for us at RedDoor. We had a great workshop on Saturday that went off without a hitch thanks to the wonderful Jill(pictured above). The theme of the workshop was "Inked", and let me tell you Jill WAS INKED! As always we had a few setups in mind going into the shoot, but we're fluid. We like to flow with things, and do whatever comes to mind. That is what happened for the shot above. We have some industrial equipment in the back corner of our studio left by the print shop that was in there before us. We haven't used it(up until this point) for any photo shoots, but with Jill's look, and the theme... I couldn't resist. Hit the jump for some behind the scenes looks at the lighting setup for this shot, plus much more from the workshop!
I like gels. Scratch that, I love gels! With the simple addition of a piece of colored "film" you can turn a blah photo in to a WOW! photo. Case in point,if I had just added a flash in the background of this image to light the industrial equipment, you wouldn't get near the effect. The addition of the green(actually 3 pieces of full cut CTG) sets the mood for this shot.
The setup is pretty simple. We had one Sb900 speedlight camera left behind a piece of equipment and the subject. This was set at 1/4power on manual mode. The Main light for the subject was a Sb900 on a boom shooting through a 24X24inch soft box. The fill was a 3foot by 6foot silver reflector camera right just out of frame. Below is a diagram showing the setup.
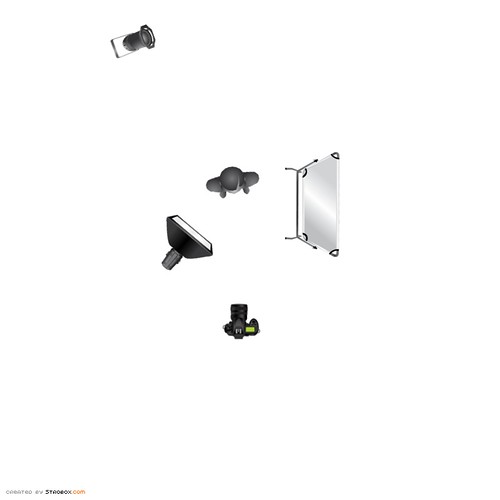
Also I have a setup shot showing everything(minus the hidden flash for the background).
As you can see everything is triggered with Pocket wizard wireless transmitters to ensure consistent firing.
The addition of the green does two things in this situation. First it sets the ominous mood. When I see a background lit with a really strong green, blue, or red gel my mind goes back to Dick Tracy, or theatrical crime scenes. You know the alley way, or the abandoned factory that the damsel in distress shouldn't have been in, in the first place. You see the moody, colored background and you know something sinister is about to take place. That's what I was going for here. Second, and equally important is separation. When you have two different "light planes" that is, two areas of the image that are lit differently you give your subject a more 3 dimensional look. That's our goal as photographers after all right, to take a 2 dimensional photograph and have the subject feel like they were there. Lighting different areas of the image separately helps us accomplish this.
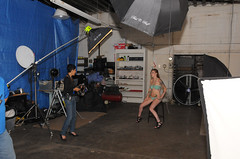
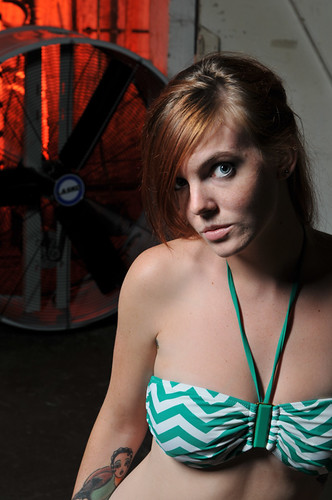
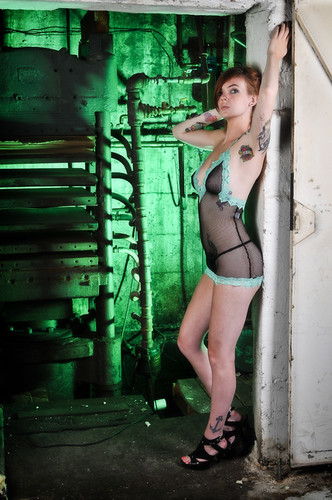
On that note, lets take a look at another image from the workshop. This time the model is out in the open. She's about 10 feet from the boiler room door and the industrial fan. Equally She is 10feet away from the graffiti wall to the right. Again we used a gel(this time a red one) to add some dimension to the boiler room, and let you(the viewer) know that it was supposed to be hot back there. We didn't stop there though. We added a gridded strobe to the graffiti wall camera right. It was set about 25degrees from the wall with a 1/8 honeycomb as to just "skim" the wall with light. We didn't want full on POW blast of light. Just a subtle touch, again to separate the model and give her some dimension in the room. The model was lit by a Strip box on a boom above her an camera left at around f/8. We filled the opposite side with another strip box camera right feathered forward a touch and set to f/4. I wanted a large transition area between the model and the background. So the model is lit, then shadow, shadow, shadow, then the background is lit. This creates clear and concise areas of light.

(Click on the image to make it full sized)
Again I have a setup shot of the whole thing with one of the students(I say students, but in reality these are quality photographers that do wonderful work) shooting the model.
(Click on the image to make it full sized)
(note: the octobox above the camera pointed at the subject is not firing, it is just on a boom above the model)
Here are a few more from the shoot with the same lighting setups just a little different angle or crop:
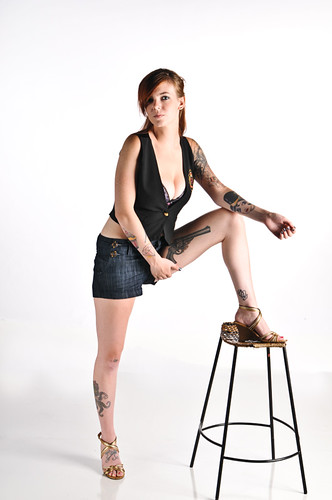
These next two were done first actually. I always, always start on white seamless with the models. It gives me an opportunity to work with them, get them into the rhythm of the shoot before we move on to more obscure things.
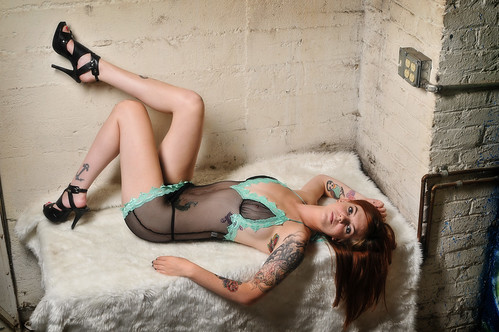
As for this last image, we laid out some fur that we have laying around the studio. Set a Strip box above and slightly camera left of the subject. We also had a kicker coming from a gridded strobe camera right at about 1 stop over the main light just to add a bit of dimension to the subject.
I had a blast at this shoot! We really got to experiment with some of my favorite kinds of lighting, and really play with some colors and gels. I hope you've enjoyed the images, and the lighting explanations. See you all again soon! Jason


No comments:
Post a Comment