
Back for more punishment I see... Glad you're back. I am just happy that anyone wants to read what I have to say at all. Today I thought I would show you a technique that I learned not too long ago for making a reflection in photoshop where one wasn't to begin with. So if you're into that sort of thing, hit the jump to see how it's done...
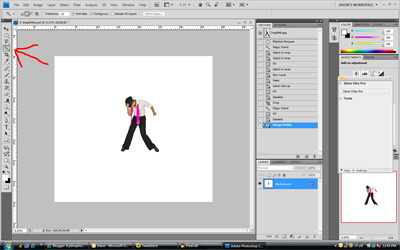
The first thing that you need to do is have an image to reflect. For our example I took an image that I shot of a client, Patrick on white seamless. Once I had the image opened in photoshop I selected the white area around Patrick by using my magic wand tool as seen here:
Once you have the white area around your subject selected, press CTRL+SHIFT+I. This will inverse your selection and select just your subject. Now go to your layers panel and create a new layer or use the keyboard shortcut CTRL+SHIFT+N. This will create a new blank layer above your current "background" layer. Now making sure that you have the new layer selected press CTRL+V. This will paste a copy of your subject on that new layer.
The next step is to clear the subject off of the background layer. This is simple to do in our case because the background layer is white. All you have to do is select the background layer. To do this press CTRL+A. This selects the entire background layer. Then make sure white is your foreground color in the bottom left hand side of your tool bar as shown here:

Once you have done these things, press ALT+BACK SPACE. This will fill the background layer with white covering the original picture up entirely. You won't be able to tell because the copy you made is above the background layer so you will still see your subject.
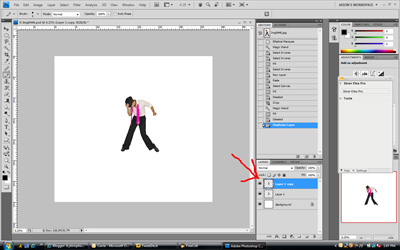
The next thing we need to do is make a duplicate of your subject layer. To do this we need to select your subject layer(in our case named LAYER 1). Press the button CTRL+J. This will create a duplicate layer above layer 1. It will look like this:
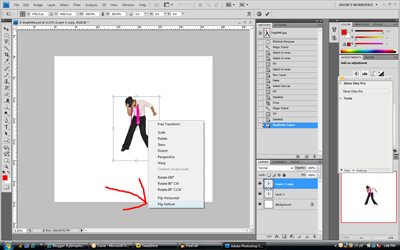
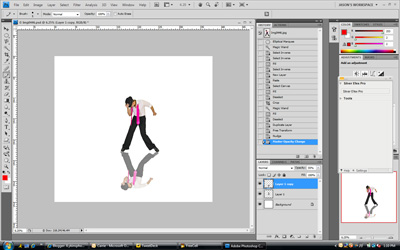
Now lets Free Transform our new layer by pressing CTRL+T. you will see a box appear around your subject. What we're going to do is flip this layer upside down so we can create our reflection. To do this we need to right click anywhere over our subject. When you do, you will get a dropdown menu. You need to select "FLIP VERTICALLY" as shown here:
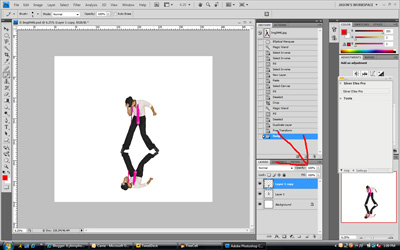
Now don't lock in that transform just yet. click inside of the box and drag it down so that the feet(in our case feet) of the "reflection" just touch the feet of the subject. Don't worry about getting it perfect, we'll fine tune later. Once you have the photo set where you want press and hold the CTRL button and click on the little square in between the corners near the bottom of the picture and drag up. This squashes the reflected image somewhat and makes it look a little more realistic. Once you get it the size you want, press the ENTER key to lock it into place. Now we need to fine tune where our reflection is placed. To do this, we could use the move tool and hold the CTRL button while we moved it little by little, but I think it's easier to use your arrow keys. To do this just select your move tool(upper left corner of your tool box) then press the down(or up depending on which way you need to move it) arrow until it looks right to you.
The last thing we're going do is make that reflection look a little more like a reflection instead of what it really is(a copy of the top picture). To do this we're going to go to the opacity slider shown here:
and decrease it to around 50%. Sometimes I go a little more, sometimes a little less. Adjust it until you like what you see. After that, you're done...
So that's it. A down and dirty way to make a quick reflection. This trick can be used on people, cars, fonts, etc... That's all I've got for today. I hope this helps some of you with your post production. More TK


No comments:
Post a Comment